
SQL Server Backup How-to
Protecting MS SQL Database(s) is a major task. BKP365 ensures to give you an easy to use, Continuous Data Protection backup for databases and the entire MS SQL Server instances.
In order to back up your MS SQL Database, please refer to the following steps:
- Before you start backing up your MS SQL databases, you need to activate the MS SQL on the machine.
- Open the BKP365 desktop software installed on the machine where the MS SQL is installed → Click the MS SQL option on the Dashboard.
If the BKP365 desktop software is not installed yet, please download its setup file and install it.
Important! Only the administrator users of the BKP365 accounts will see the MS SQL option on the Dashboard of their BKP365 desktop software.
- A message will show up asking you to activate MS SQL backup on your device. Click the Activate button.
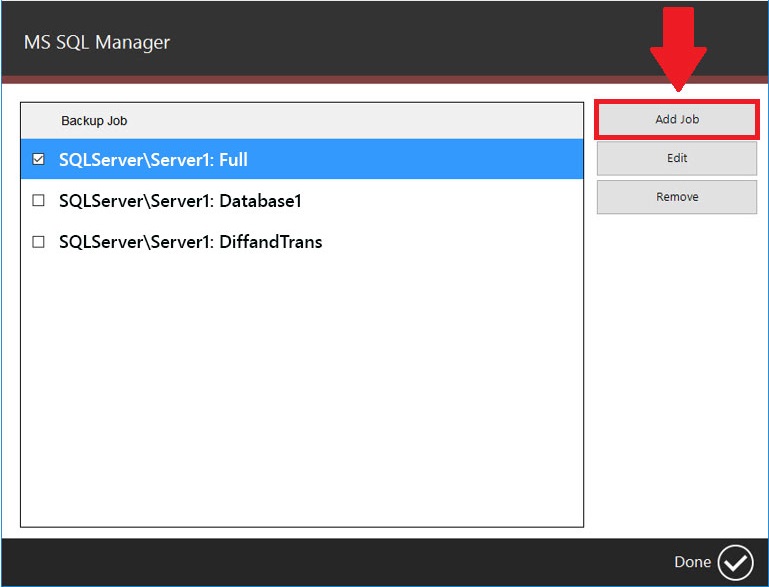
- From the MS SQL Manager window, click the Add Job button.
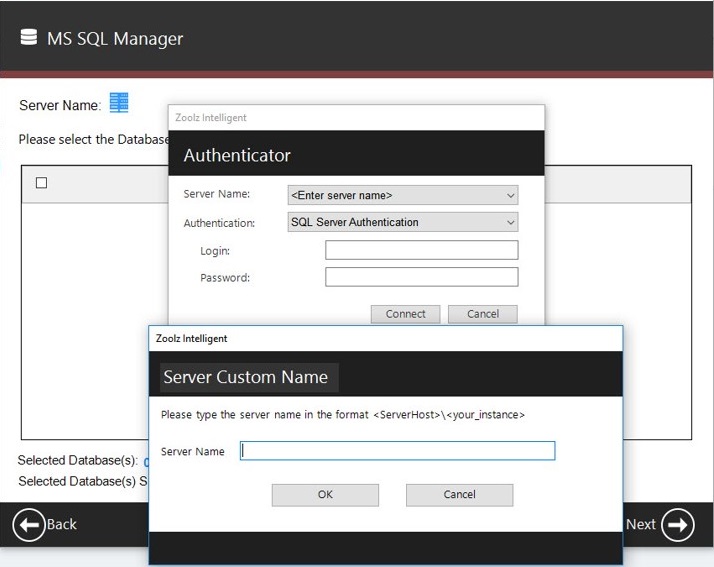
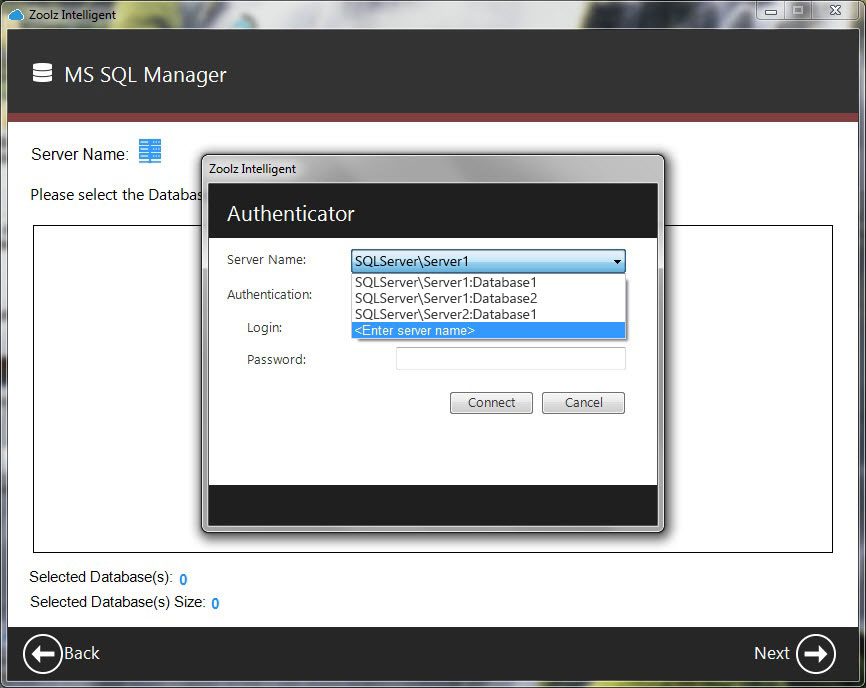
- From the new Authenticator pop-up window, expand the Server Name drop-down list and select the <Enter Server Name> option if the server you want to backup the MS SQL database(s) from is not already in the list.

- In the new Server Custom Name pop-up window, type the name of the server which holds the MS SQL database(s) you want to backup. The server name should be in the following format: ServerHostName/InstanceName → Click OK to go back to the Authenticator pop-up window and type the credentials (Username & password) of the server you just added → Click the Connect button.
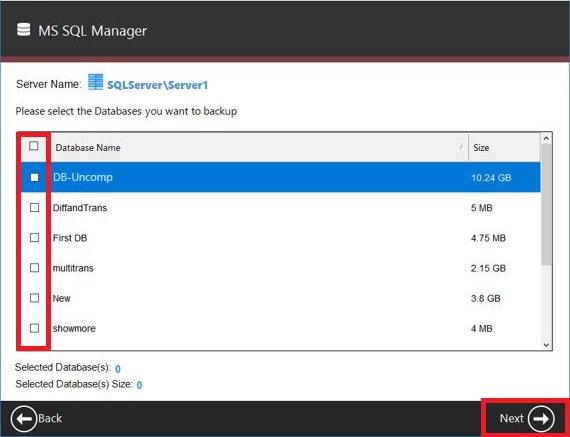
- BKP365 will connect to the server you just added, and it will show you a list of the available MS SQL databases that are available under this added server. Select the database(s) you want to backup → Click the Next button.
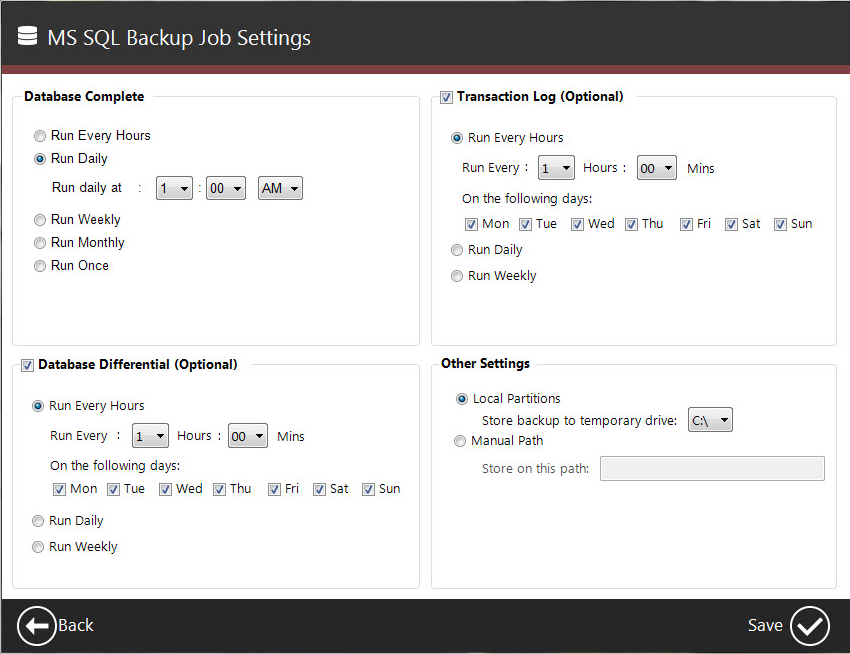
- In the MS SQL Backup Job Settings window, set the backup settings and click the Save button.
